sudo docker images | grep shinyproxy7월 17일 Virtual Box를 이용해 ShinyProxy 환경을 구축하는 강의가 있었습니다. 강의 시간에 직접 해보지 못한 Social Login 중 Google Authentication 방법에 대해 알아보겠습니다.
요약
지난 Lecture에서 구축한 환경설정 간단하게 리뷰
Application.yml을 project folder에 생성하여 Social login을 사용하도록 설정
Google Developer Console에서 OAuth 설정을 통해 Client Id, Key 발급과 Redirection URL 설정
Contents
Review of previous lecture
-
ShinyManager (https://datastorm-open.github.io/shinymanager/)
- Shiny App의 Authentication service 제공
- Sigle thread 기반으로 구성되기 때문에 동시에 여러 유저가 로그인 불가
-
ShinyProxy (https://www.shinyproxy.io/)
- ShinyManager를 사용할 때 동시에 하나의 유저만 로그인할 수 있는 한계를 극복하기 위해 도입
- 여러 사용자의 동시 접근을 가능한 Shiny App deploy
-
Google OAuth 설정으로 넘어가기 전에…
- 강의시간에 만든 Virtual box의 가상이미지 실행 후 shinyproxy docker 이미지가 실행되고 있는지 확인
-
Rstudio server 로그인 후 Terminal에서 shinyproxy 실행
- 브라우저에서 127.0.0.1:8787로 접속 후 Virtual Box 이미지 생성 시 입력했던 아이디와 패스워드로 로그인
- Rstudio Terminal에서 shinyproxy 실행
java -jar shinyproxy-2.5.0.jar -
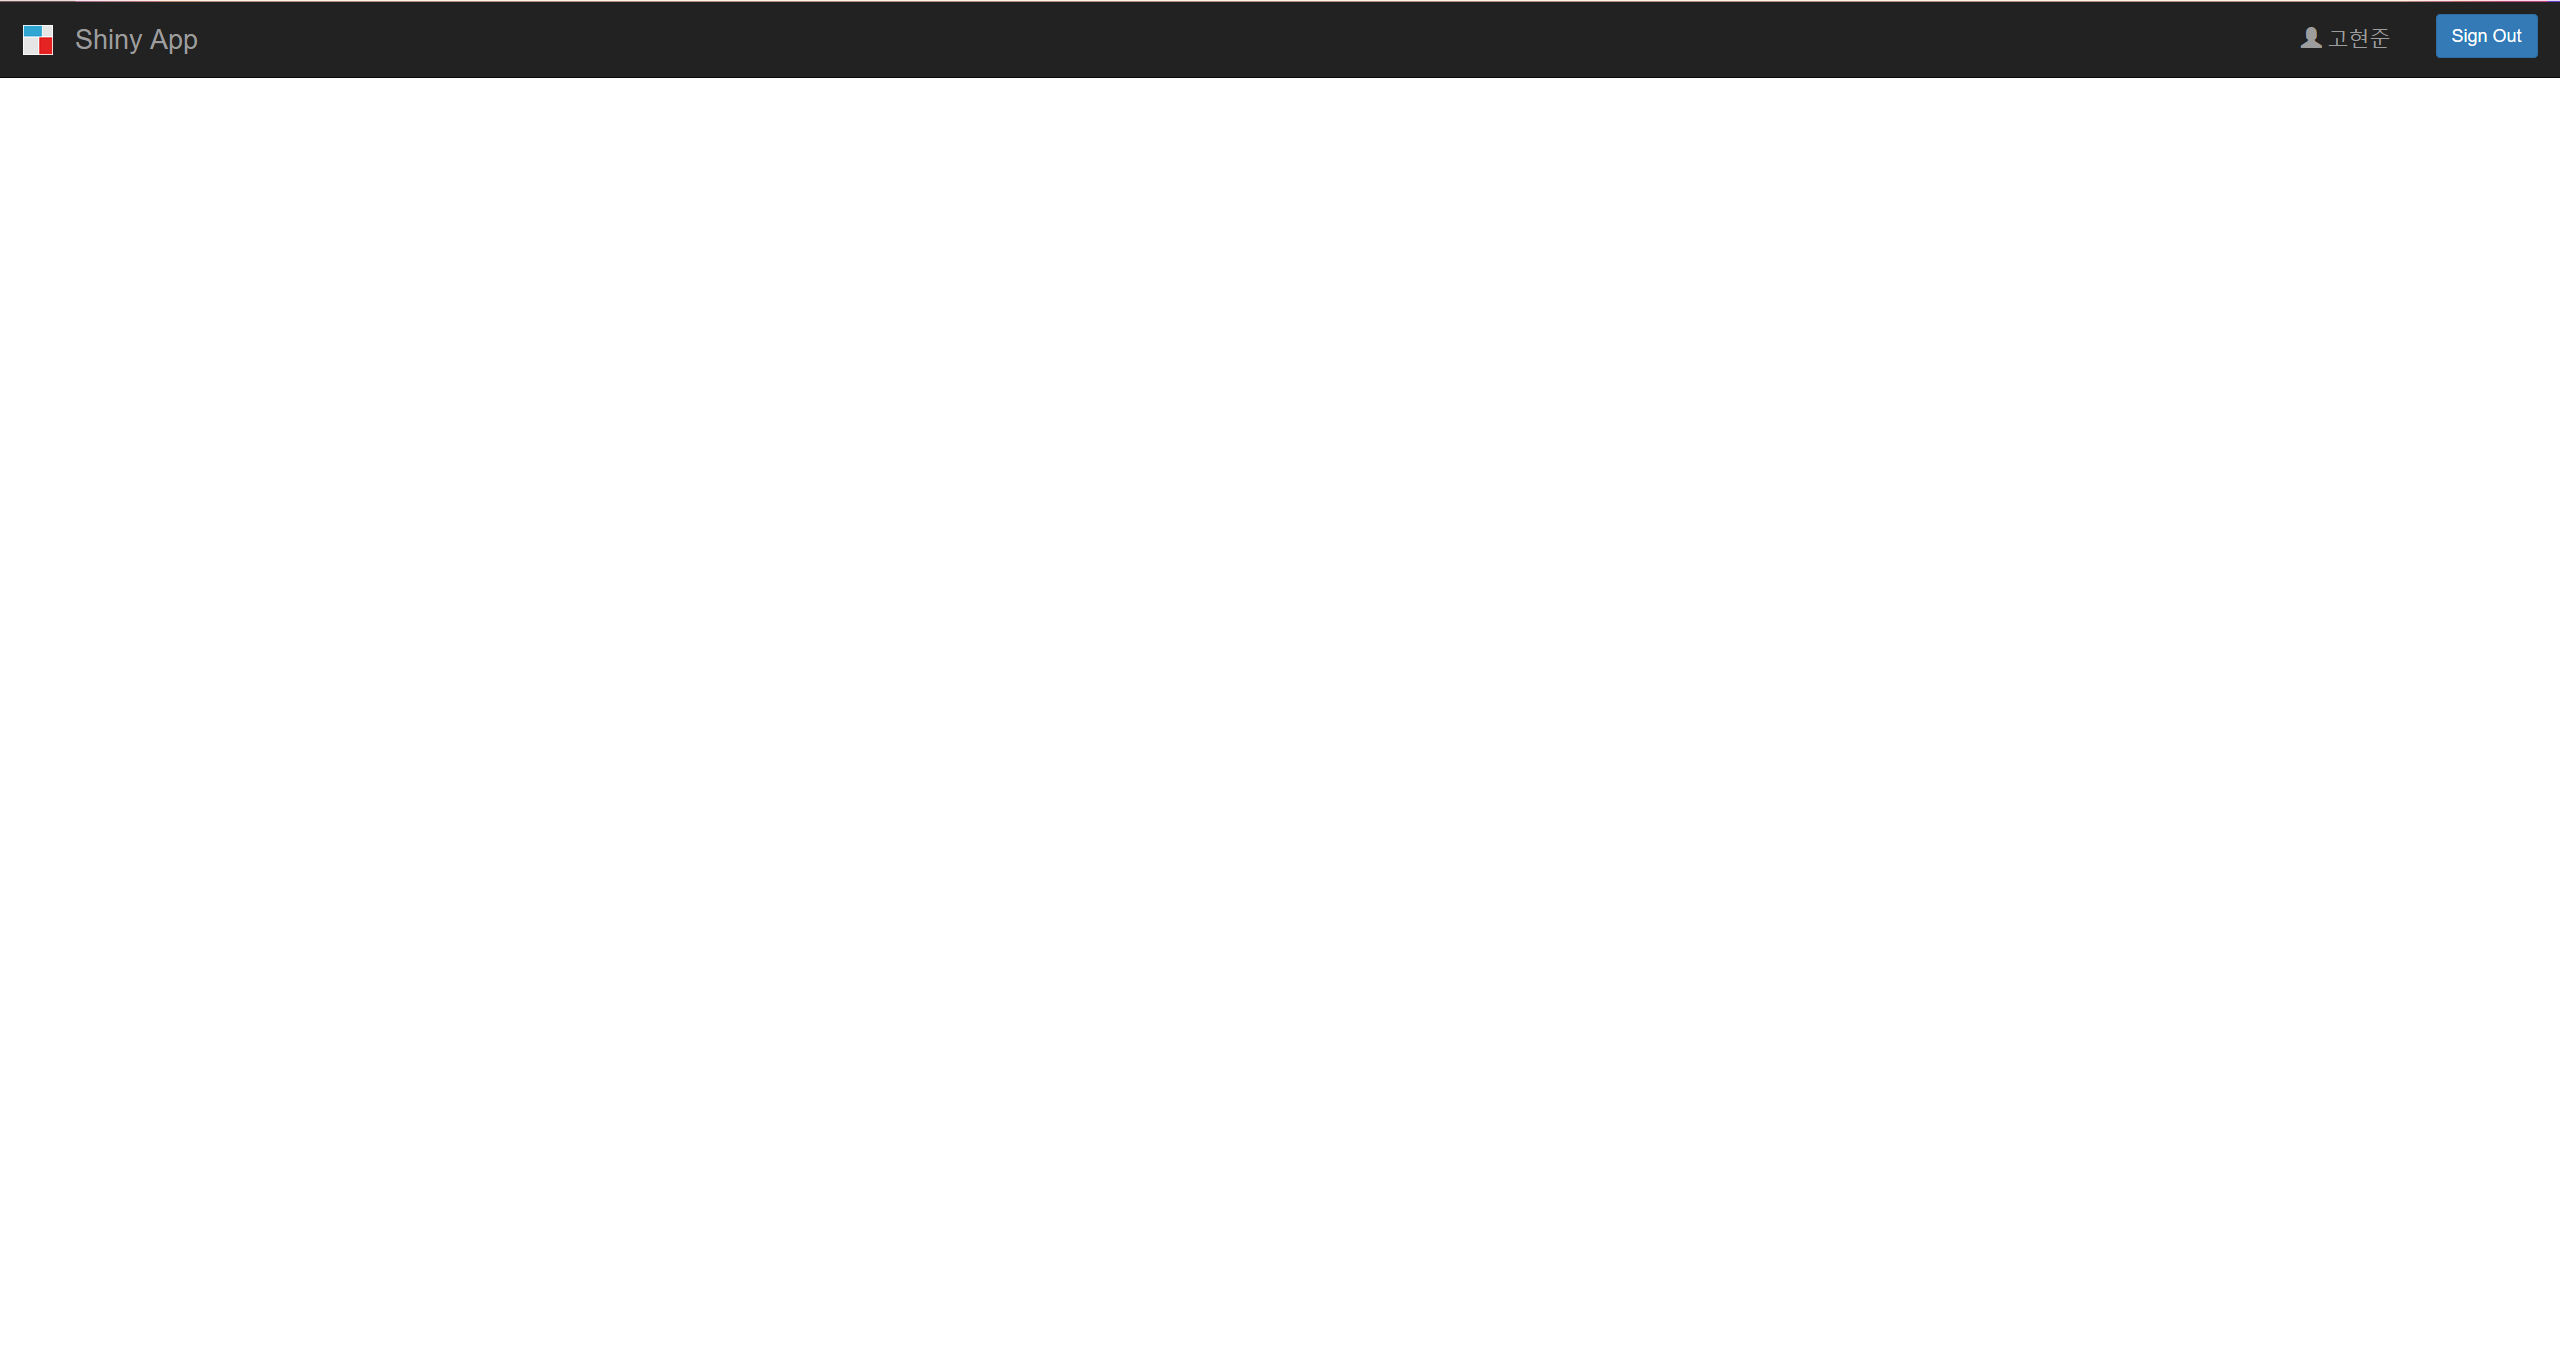
127.0.0.1:8080으로 접속하여 admin 계정을 통해 login 기능 작동 확인
Google OAuth
- Facebook, Github 등 다양한 소셜 로그인 중 하나
- Google Developer Console https://console.cloud.google.com/apis/에서 프로젝트 생성 후 Client Id와 Client Key 발급
- 발급받은 Id, Key를 application.yml 파일에 입력
- Google Devloper Console에서 로그인 후 redirection할 URL을 입력하면 끝!
- 구체적인 과정은 네이버 블로그를 따라하세요
ShinyProxy Setting
- application.yml : Authentication 방법을 정의하는 파일로 simple, LDAP, openid, social 등의 방법 선택 가능 (authentication: {원하는 로그인 방식})
- RStudio server에서 홈 디렉토리에 application.yml 파일 생성(아래 코드를 복사하세요)
proxy:
    title: Shiny App
    logo-url: https://www.openanalytics.eu/shinyproxy/logo.png
    landing-page: /
    heartbeat-rate: 10000
    heartbeat-timeout: 60000
    port: 8080
    authentication: social
    admin-groups: scientists
    openid:
      auth-url: https://accounts.google.com/o/oauth2/v2/auth
      token-url: https://www.googleapis.com/oauth2/v4/token
      jwks-url: https://www.googleapis.com/oauth2/v3/certs
      client-id:     528600301937-aic4b7n55ka3ac9he6g4d67fb6cdrkc6.apps.googleusercontent.com
      client-secret: x7KIiNvJcwh4cl2eouPJ3IiS
      # Docker configuration
    social:
      google:
        app-id:     528600301937-aic4b7n55ka3ac9he6g4d67fb6cdrkc6.apps.googleusercontent.com
        app-secret: x7KIiNvJcwh4cl2eouPJ3IiS
    docker:
      url: http://localhost:2375
      port-range-start: 20000
    specs:
    - id: 01_hello
      display-name: Hello Application
      description: Application which demonstrates the basics of a Shiny app
      container-cmd: ["R", "-e", "shinyproxy::run_01_hello()"]
      container-image: openanalytics/shinyproxy-demo
      access-groups: [scientists, mathematicians]
    - id: 06_tabsets
      container-cmd: ["R", "-e", "shinyproxy::run_06_tabsets()"]
      container-image: openanalytics/shinyproxy-demo
      access-groups: scientists

  logging:
    file:
shinyproxy.log- authenticaiton을 openid로 설정할 경우
- 위 코드의 openid 부분과 동일하게 auth, token, jws url 작성
- client-id와 client-secret을 Google Developer Console에서 확인 후 입력
- Google Developer Console에서 승인된 redirect url에 다음을 입력 http://127.0.0.1:8080/login/oauth2/code/shinyproxy
- RStudio server Terminal에서 실행중인 shinyproxy 종료(Ctrl + C) 후 재실행
- 브라우저에 127.0.0.1:8080을 입력 후 google login 수행 (localhost:8080로 접근하기 위해서는 redirect url에 http://localhost:8080/login/oauth2/code/shinyproxy 등록)
- authentication을 social로 설정할 경우
- 위 코드의 social 부분과 동일하게 작성
- Google Developer Console에서 승인된 redirect url에 다음을 입력 http://127.0.0.1:8080/signin/google
- RStudio server Terminal에서 실행중인 shinyproxy 종료(Ctrl + C) 후 재실행
- 브라우저에 127.0.0.1:8080을 입력 후 google login 수행
마무리
ShinyProxy는 Spring framework 기반으로 작성되어 application.yml 수정을 통해 여러 인증방법을 적용할 수 있습니다.
Facebook, Github 등 여러 API provider들이 구글과 비슷한 인증 서비스를 제공하고 있어 손쉽게 여러 social 인증을 추가할 수 있습니다.
발급받은 client id와 secret은 외부로 노출되어서는 안됩니다(Github Repo에 commit 금지!)
social과 openid 모두 적용할 수 있으나 redirect url에 차이가 있음에 주의 (정확한 차이는 연구 필요)
Citation
BibTeX citation:
@online{ko2021,
  author = {Ko, Hyunjun},
  title = {googleAuth},
  date = {2021-07-25},
  url = {https://blog.zarathu.com/posts/2021-07-25-googleauth/},
  langid = {en}
}
For attribution, please cite this work as:
Ko, Hyunjun. 2021. “googleAuth.” July 25. https://blog.zarathu.com/posts/2021-07-25-googleauth/.